
HOW TO MAKE SKY BACKGROUND IN PHOTOSHOP
This tutorials talked about how to create nice sky background in Photoshop by yourself.
First thing I would like you to click the link below to download the Photoshop brushes in RAR format into your computer, which I suggested to save to your desktop for accommodate to pickup later.
These brushes set contains radial flare and cloud brush that essential for this tutorial.
STEP 1
STEP 1
After you downloaded into your PC. Right click the file then select "Extract here".

Now you have 3 file names "RadiusFlares.abr, Clous 1.abr and 2.abr, Select them all and copy by just press Ctrl+C.

STEP 2
Next, open Photoshop. Press Ctrl+N to activate "New". Follow all the number values as I put them in the image.

Now you have new canvas ready to create your sky.

Activate "Brush Tool" in your tool box at the left of your screen or press "B"

Right click on your canvas, it will show brush tool adjustment.

Go to click right arrow at the right top of adjusting dialogue. It will show the drop down option. Go to click "Load Brushes"to open Brush Folder. It shows you location where Photoshop brush in .abr format that you have saved on to your desktop before to be installed.


Copy all 3 brushes in .abr at the desktop by press "Ctrl+C" to record into your memory. Now go to the brush folder that you opened then press "Ctrl+V" to paste your brushes into it, it it doesn't work, please go back to copy the brush again.
Now you have all 3 brushes in your brush store, which now active and ready to use in Photoshop.

STEP 3
Press "G" to active the Gradient Tool. It's on the gradient option at the top of your screen under the main menu.

It shows you now the "Gradient Editor". Adjust the gradient appearance by double click the small box at the left-bottom of the gradient stripe to adjust color to become blue.

After you select blue for the left part of the gradient stripe, then press OK.

Now your gradient is fading from blue to white (left to right). Drag your mouse from bottom to top at the center of your canvas as shown in example.

Now you have gradient ready for the next step.

Step 4
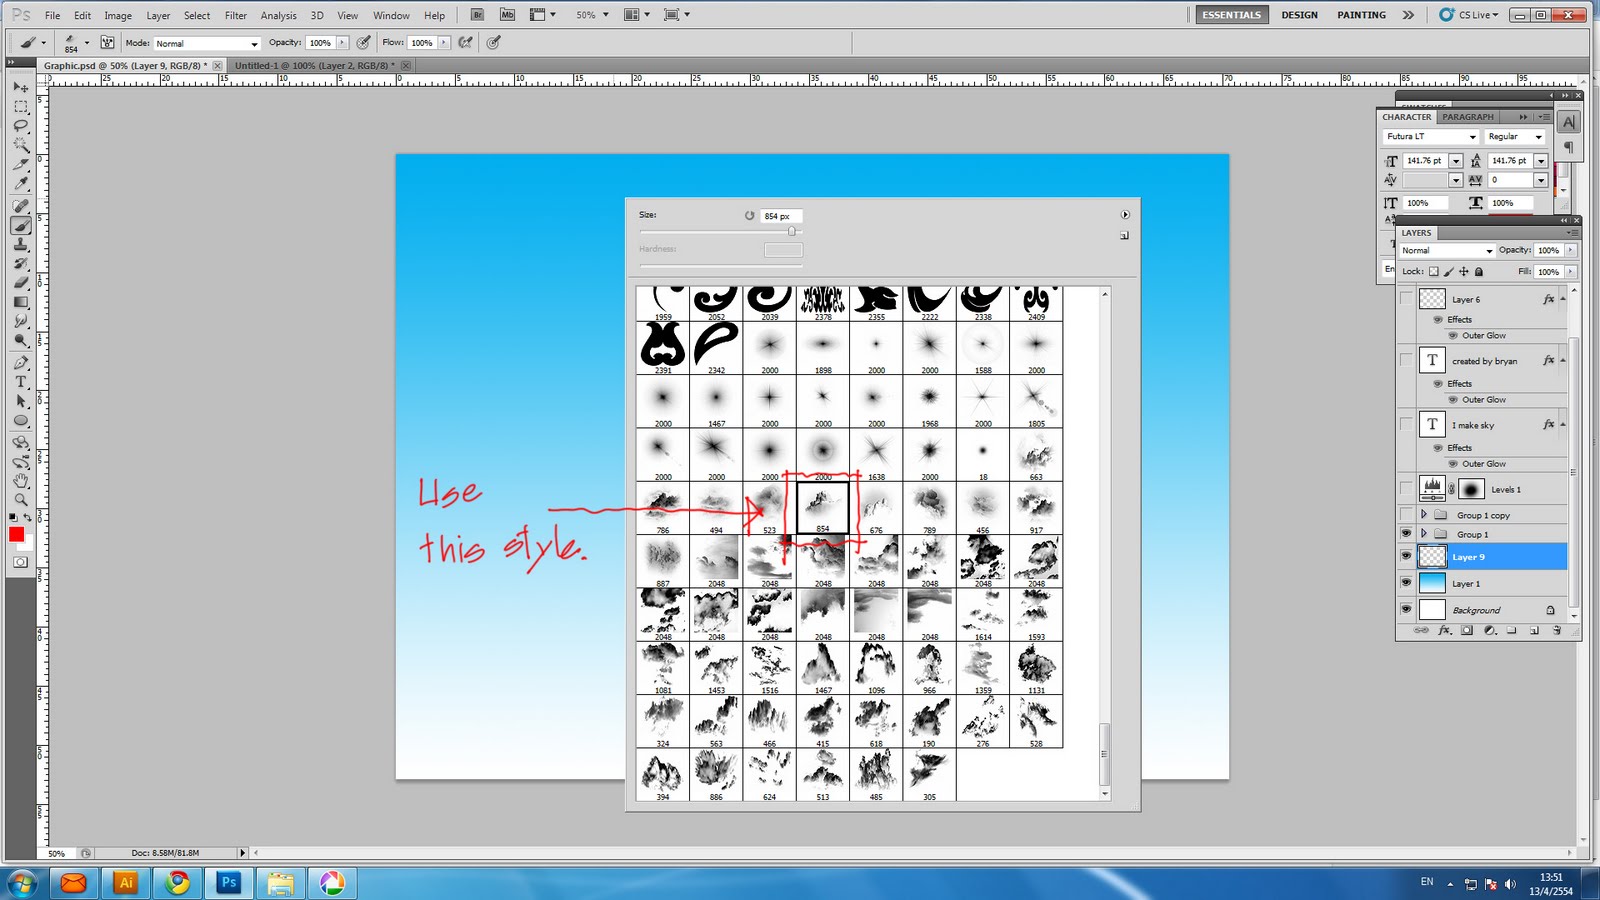
In this step, we will make cloud. Go to active your brush by press "B". Right click on the gradient canvas, it will show brush adjustment. If your adjustment box doesn't look the same as mine. Go to click right arrow at the top right of your box, then select "Large Thumbnail".

In the Brush Adjustment, you will see additional brushes of cloud and radius flare that you have added before.

Select some cloud brush, for instance, I use this as you see in the image, then just click on to your canvas to brush the cloud, but if it looks too large or small, just use "[" to make it smaller or use "]" to make bigger. need you adjust it until my size like example. Don't forget to change your foreground color at the bottom of the tool box that is on the left of your screen, turn it to be white.

Right click to select next style of cloud. You may try to use another brush to make your cloud. Retouch it as much as you want to make it looks real. In this tutorials, the clouds looks symmetrically, so I compose only on the right side first.
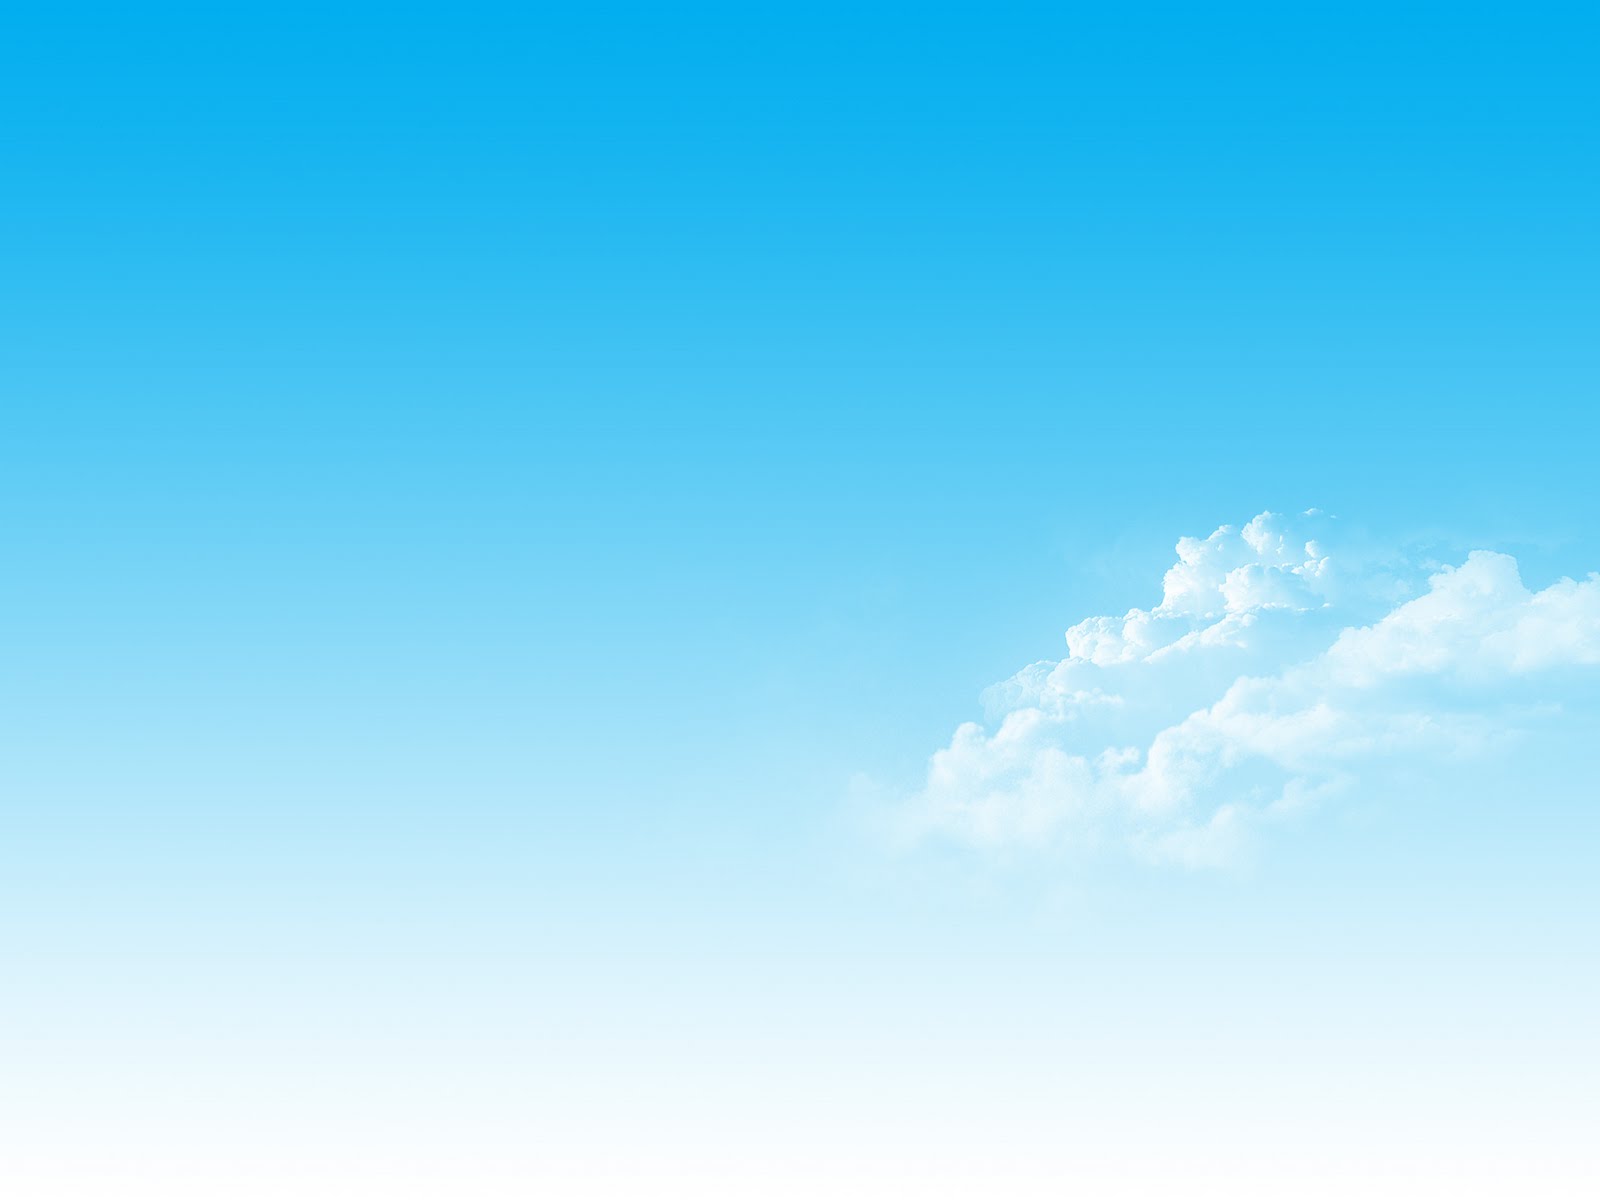
It looks like this. But your may different.
Go to main menu, select "Layer" then select "Duplicate Layer". Now you have just duplicated the existing cloud.

Transform the new layer cloud by press "Ctrl+T". Right click on the object, go to click "Flip Horizontal". The cloud will be flipped to inverse direction. Compose this new cloud to the right of your canvas.


Then press "Enter" to confirm your position.

To make it looks more naturally, just duplicate the cloud layer again. Then transform by pressing "Ctrl+T".

Then transform it in not proportional, enlarge to left-right and press its height down.

Reduce its opacity by adjusting percentage, press any of your number to reduce opacity, this case I use 5 to reduce it to 50%, then compose it like my example. Press Enter to confirm.

You may try duplicate one more and compose it above the previous one. But this one, reduce opacity to 30% by press "3" on your numeric keypad. Make it looks more reality like another stripe is far away.

I create one more horizontal cloud by just duplicating the previous one, then compose it to make it more naturally.


Select all cloud layers by keep press "Shift", start to click on the top layer, then click the bottom layer as the example. Go to click the button at top right of the Layer Box, it will show more option, then select "New Group From Layer". Now all the clouds are grouped together in just one folder.
 To make it looks more interesting and to emphasize your text you want to put later. Go to "Layer"-->"New Adjustment Layer"-->"Level". Press Enter to OK. It will show you the Level Adjustment, follow my adjusting like example.

 To make it looks more interesting and to emphasize your text you want to put later. Go to "Layer"-->"New Adjustment Layer"-->"Level". Press Enter to OK. It will show you the Level Adjustment, follow my adjusting like example.

After you finish, close the Level Adjustment Box. Use Eraser by press "E"


Scroll your eraser size up to 1300 px., then press Enter to confirm.

Then brush your eraser at the center like example. Now you feel the sky looks more interesting like the surrounding looks darker to focus at the center.

STEP 6
Press "T" to active text function or select from the tool box.
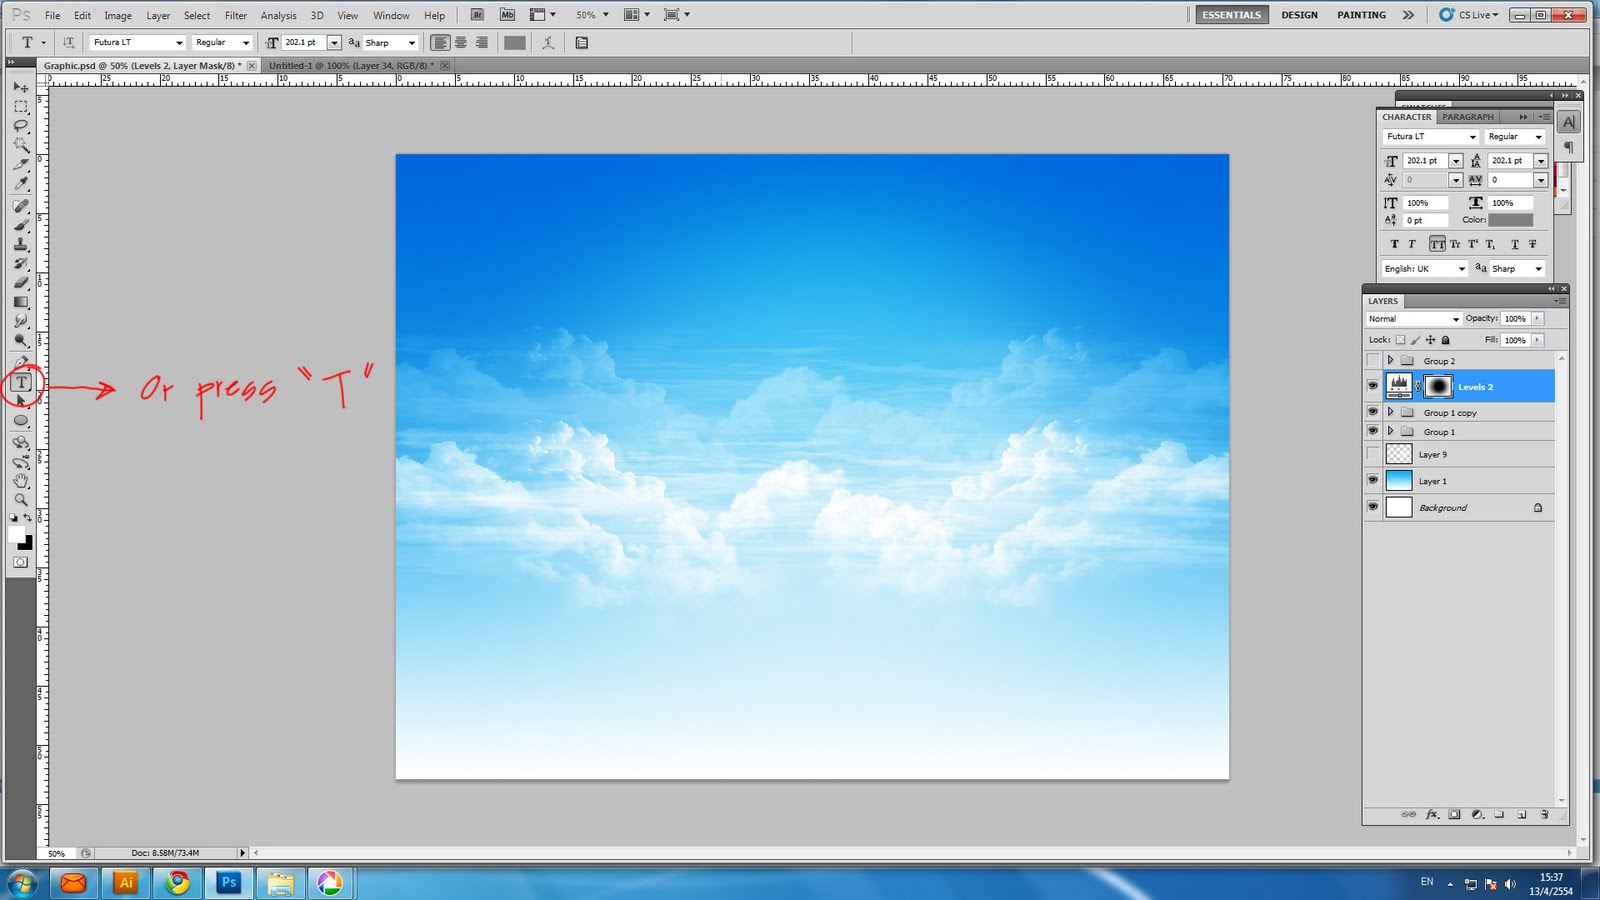
There is optional adjustment at the top left on your screen, below the main menu. You can select whatever text style you like. This time, I use "Futura LT, Regular, 202 pt. You may enlarge text size later, but specify proper size you are comfortable to see when you are typing. Type anything at the center of your canvas. If you OK, press Enter to confirm.

You can adjust scale by using "Ctrl+T". Don't forget to hold your "Shift" while you are adjusting to control the text size proportionally. After you satisfy, go to the layer box, click the top right of the box, then select "Blending Options".

This is the "Layer Style Box", select "Outer Glow" and put the values as mine. Then press Enter to confirm.

Make some tag text under the main text "I Make Sky" to make overall looks finish or complete. Don't forget to use "Blending Options" for this tag too.

Create one blank layer by click the paper symbol at the bottom left of Layer box, next with trash symbol.

Use your rectangle selection at the function under the Pick tool on your tool box.

Draw small rectangle under main text.

Make sure your active color is now white, Go to check or change it at the color box at the bottom of your tool box.

Press Alt+Delete to fill white color into your rectangle selection. This is the shortcut for coloring, no need to use the bucket to color into the selection. Press "E" to active your eraser. Adjust bigger your brush size. Erase smoothly both side of white stripe like example.

Put some effect by using "Blending Options" same as main text and tagline.

Congratulation!!..Now you are in the final part of this tutorial. Create new layer by click the paper symbol at the Layer Box, then press "B" to active brush tool. right click on your canvas. Scroll down to find your Radius Flare that you have added from your desktop before.

Brush 1 click at the center of the white line that you create like example.

Perfect!!...now you have your own sky.


Post a Comment