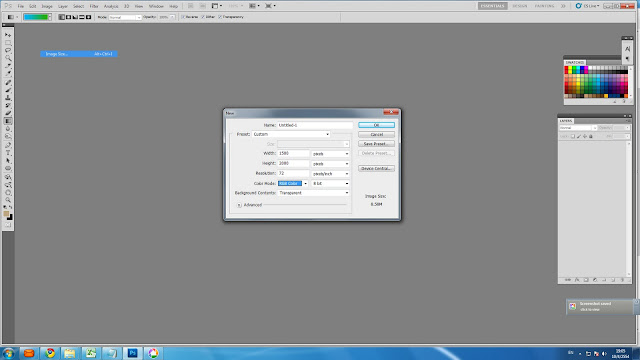
Go to main menu, select Filter-->Blur-->Gaussian Blur. It will call "Gaussian Blur". Type value to 180 px, then press OK.
You can see the "Layer box" on the right of your screen, if the box is not there, just press F7 to call the "Layer Box".
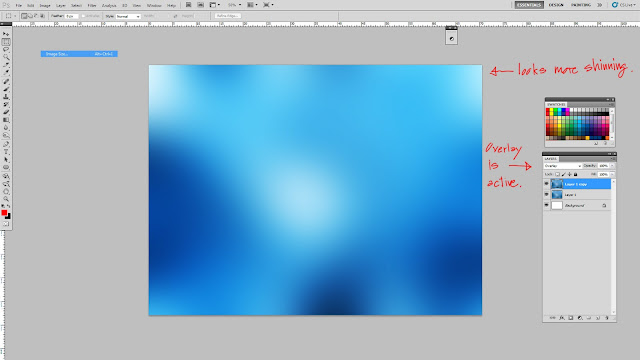
You will see that there are 2 layers : one is the blur layer that you made, another one is the blank canvas names "Background" as the bottom layer. Now we will duplicate the blur layer by just go to main menu, click Layer----->Duplicate Layer or just hold your left click on the blur layer, which is on the Layer box, then just drag on to the paper icon (create new layer), which next with the Trash icon, then release your mouse.
Press "L" to change from "Pick tool" to "Lasso", this tool for helping you in making selecting area. Use your lasso tool to make the the dash area like the picture by just drag it one time to make shape, after you dragged or drew it, you will see the selecting area is happened, then right click and select "Feather". it will comes up with "Feather Selection".
Put in the value to 130 pixels
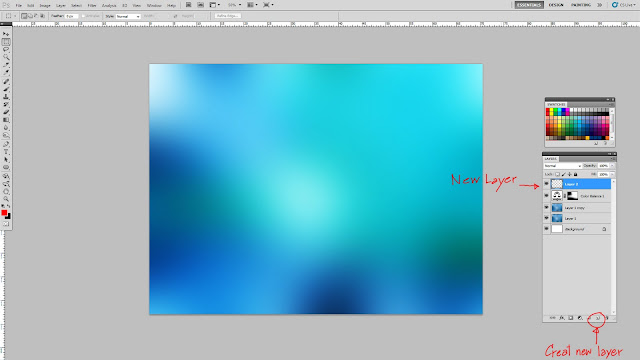
Then go to main menu, select Layer-->New Adjustment Layer-->Color Balance. Select OK at the New Layer box. Now you see the adjustment box of "Color Balance". Adjust follow my example. Now you can see in the area that you made selection, the color was a bit changed.
Here is the highlight. At the layer box, click on the small icon looks like a paper icon at the bottom right aside with trash symbol. Now you have new layer.
Right click, select "Stroke", this is "Stroke Box". Make sure your width is 1 px, color is white then click OK. Now you made white line that has been drawn along the dash line.
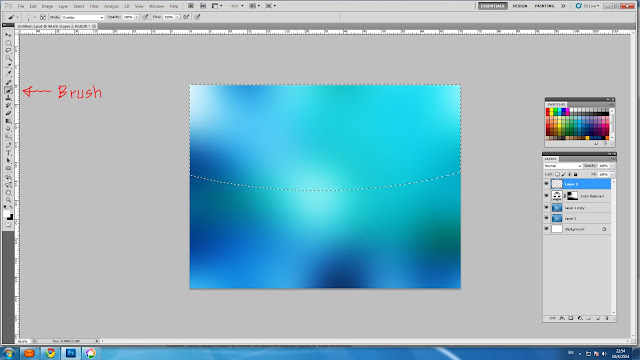
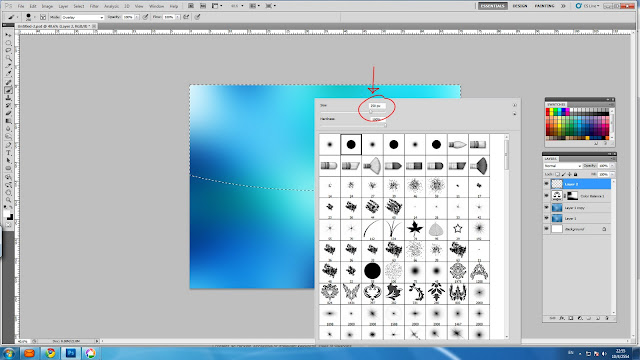
Press B or select the Brush Tool at your tool box, change color to be white by clicking at above left rectangle at the bottom of tool box. It will be shown you the "Color Picker", Choose white color then click OK. Right click, then scroll brush size to 250 pixels and click OK
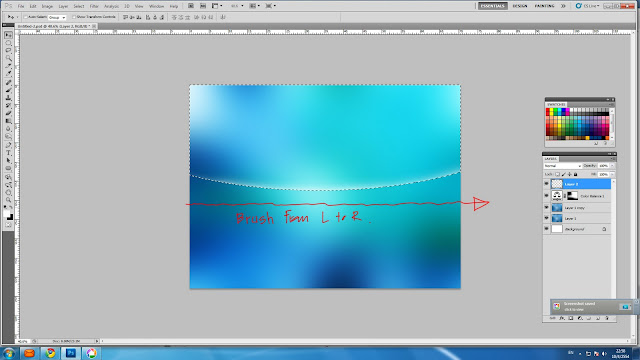
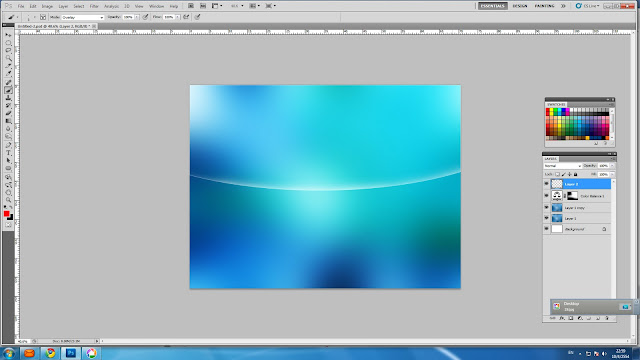
Brush like example, just hold left click and drag along from left to right. Now you have something looks interesting. Go back to your Layer box, select overlay effect like you have done before. The effect will be soften and look nicer.
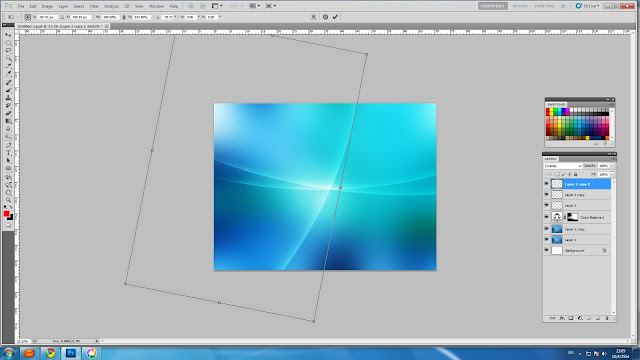
Now you may try to add more new one of this effect to be intersect the present one. Go to Layer at main menu, select Layer-->Duplicate Layer then click OK. Use Ctrl+T to call transform box. Rotate the effect and compose position until it looks intersect the previous one as the example.
You can create more intersect to make it looks interesting, but don't be too much.
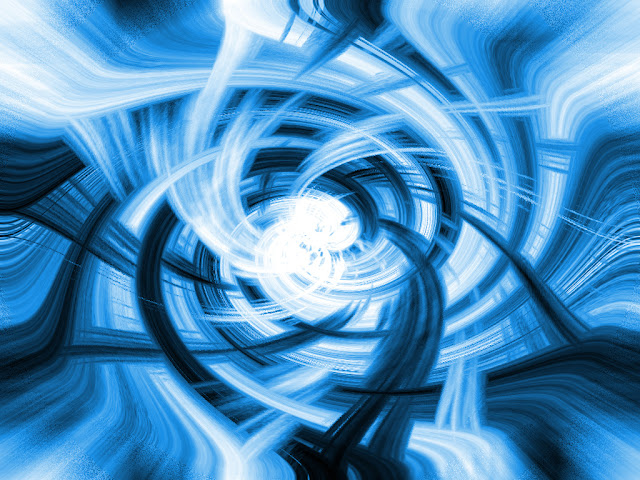
Congratulation!!, now you have some nice graphic created by your own, you may put some text.
Oh man!!..It is very difficult to edit and compose the picture in Blogger..